

Accessing Settings
Navigate to Settings in the sidebar. The settings page is organized into sections accessible by organization admins and owners.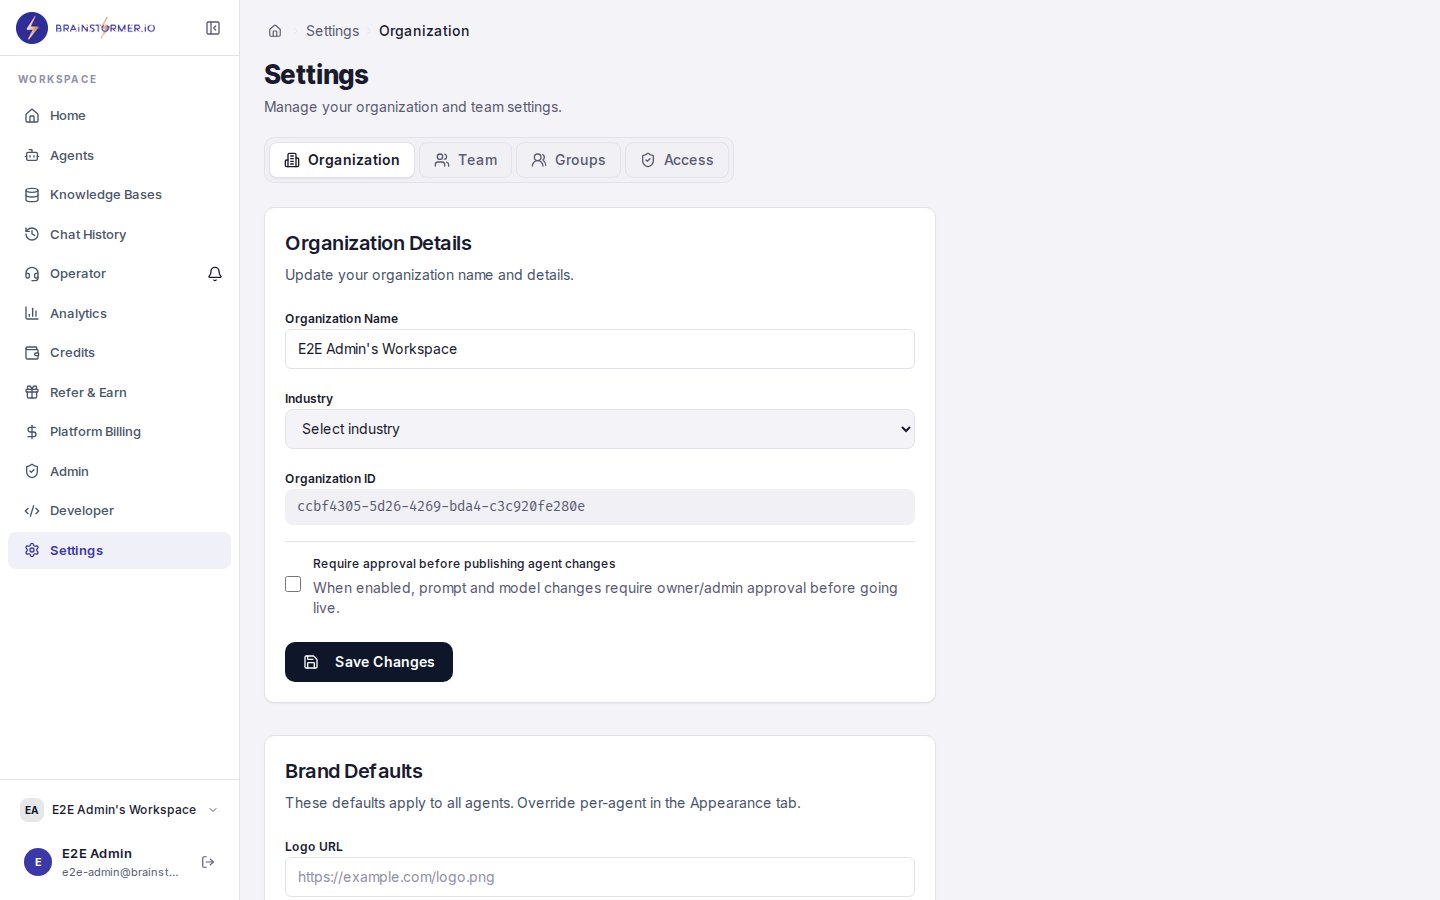
Organization settings page with configuration options
General Settings
Organization Profile
Update your organization’s basic information:- Name — Your organization’s display name
- Slug — The URL-friendly identifier (used in public agent URLs)
Approval Workflows
Control whether agent publishing requires approval:- Require publish approval — When enabled, members must submit publish requests that an admin or owner reviews before the agent goes live. When disabled, any member with edit access can publish directly.
Team Management
Manage your organization’s members from the Team section:- View all current members with their roles
- Invite new members via email
- Change member roles (owner, admin, member, viewer)
- Remove or suspend members
Group Management
Create and manage user groups from the Groups section:- Create groups to organize members by team or function
- Add and remove group members
- Set a default group for new members
- Assign resource permissions to groups
Access Control
The Access section provides a permission matrix where you can:- View all permission grants across users and groups
- Grant new permissions on specific resources
- Revoke existing permissions
- See effective permissions for any user (resolved from direct grants + group membership)
API Keys
Manage API keys for programmatic access to your organization’s resources:Creating API Keys
- Navigate to Developer in the sidebar.
- Click Create API Key.
- Enter a name and optional description.
- Copy the generated key — it is shown only once.
API Key Permissions
API keys inherit the permissions of the user who created them. Use them for:- Programmatic access to the chat API
- Building integrations with your agents
- Automated workflows that interact with knowledge bases
Platform Configuration (Superadmin)
If you are a platform superadmin, you have access to the Admin section with platform-wide configuration: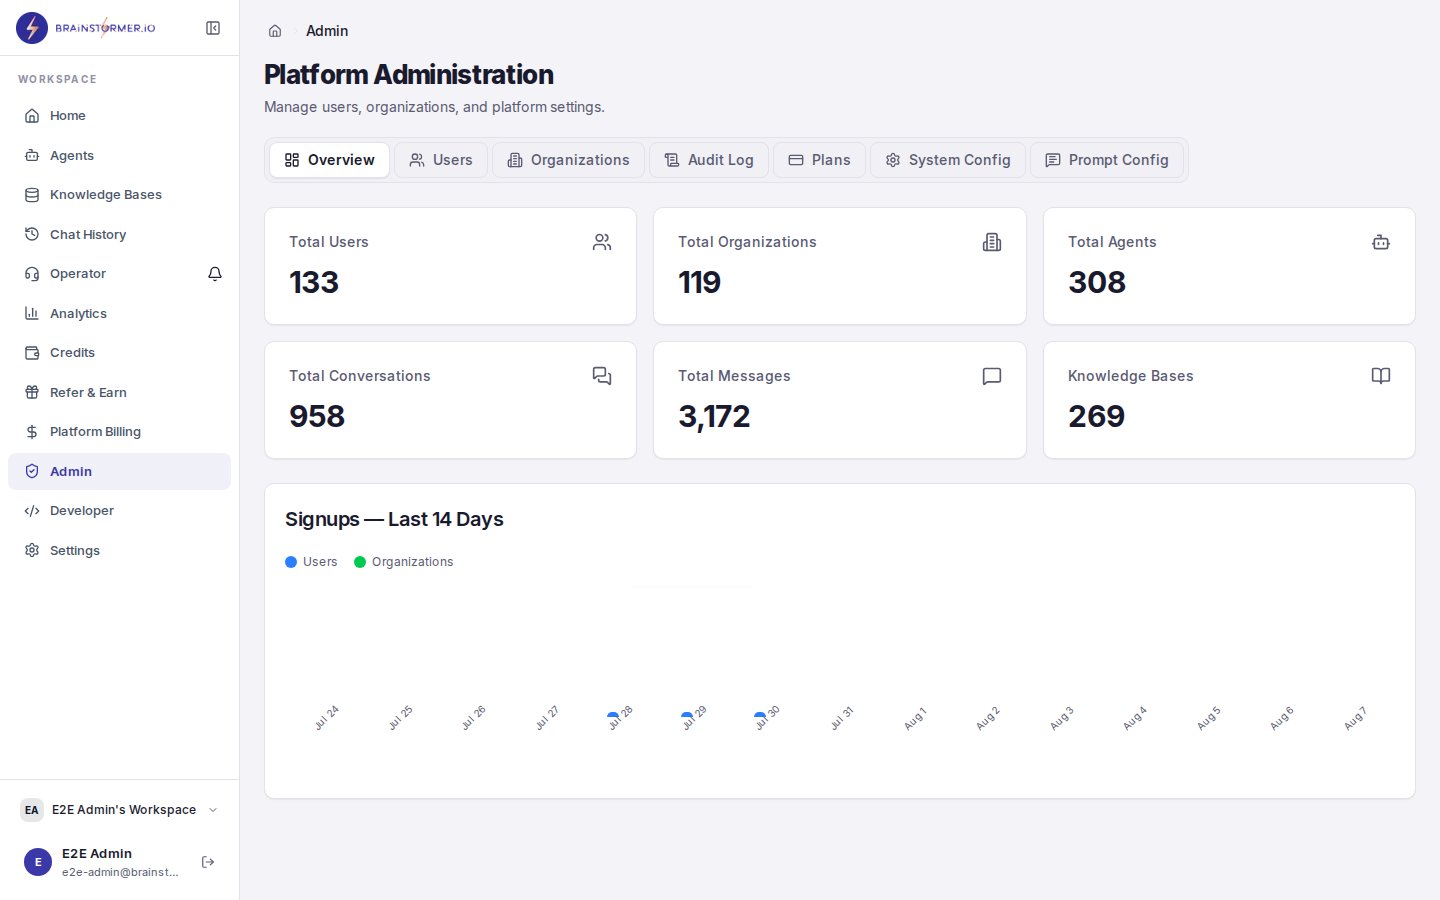
The superadmin panel for platform-wide configuration
API Key Configuration
Manage the API keys that power the platform’s AI integrations:
These keys are stored encrypted in the
platform_config database table using AES-256-GCM encryption. Database values take precedence over environment variables, allowing runtime configuration changes without redeployment.
Config Categories
Platform config is organized into categories:- AI — Model access keys and settings
- Voice — Voice synthesis configuration
- Knowledge — Document processing and vector storage keys
- Feature Flags — Enable or disable platform features
Prompt Registry
Superadmins can manage the prompt type registry — the list of all valid prompt types in the system:- View all registered prompt types
- Create new prompt types (with supported modes and categories)
- Update prompt type metadata
- Deprecate prompt types that are no longer needed
System Prompt Defaults
Configure platform-wide default prompts that agents use when they do not have their own override:- Set defaults for each prompt type (system, welcome, KB context injection)
- Choose fixed or generated mode
- Version defaults with full changelog tracking
- Roll back to previous versions if needed
System defaults are the safety net. When an agent does not have a custom prompt configured, it falls back to the system default. When no system default exists, a hardcoded fallback in the code ensures the system always works.
Audit Log
The Audit Log section shows a chronological record of all actions taken in your organization:- Member management (invites, role changes, removals)
- Permission changes (grants, revocations)
- Agent lifecycle events (create, update, publish, unpublish)
- Knowledge base changes
- Settings modifications
Billing Settings
Organization owners can access billing configuration:- View current plan and credit balance
- Purchase additional credits
- View usage history and invoices
- See cost breakdowns by agent, model, and operation